Introduction

Docker has revolutionized application deployment by enabling developers to package applications and their dependencies into portable containers. In this comprehensive guide, we'll explore how to dockerize a Spring Boot application with MySQL, leveraging the power of Docker and Docker Compose. By containerizing your Spring Boot application, you can achieve easy deployment, improved portability, scalability, and version control.

The YouTube Channels in both English (En) and French (Fr) are now accessible, feel free to subscribe by clicking here.

This article was originally posted on the NumericaIdeas tech community blog: https://blog.numericaideas.com/docker-compose-springboot-mysql

What is Docker?

Docker is an open-source platform that simplifies application deployment by packaging applications and their dependencies into containers. Containers provide a lightweight, isolated environment that can run consistently across different environments which greatly improves the development and deployment experiences.

Why Dockerize a Spring Boot Application with MySQL?

Dockerizing a Spring Boot application with MySQL offers several advantages:

  • Portability: Docker containers can be deployed on any machine running Docker, eliminating environment-specific issues.
  • Isolation: Containers provide an isolated environment, ensuring consistent and reliable application execution.
  • Scalability: Docker containers can be easily scaled horizontally to handle increased demand.
  • Versioning: Docker images can be versioned, enabling easy management and rollback to previous application versions.

Prerequisites

To follow this guide, ensure you have the following prerequisites:

  • Docker installed on your machine, this guide could help.
  • Java Development Kit (JDK) 17 installed, recent versions could work.
  • Maven or Gradle build tool installed.

Create a Spring Boot Application

Before proceeding, let's create a basic Spring Boot App with the latest stable release at the time of writing, which is version 3.1.2.

It involves accessing the initializer service at https://start.spring.io, providing some basic details in regard to the App, selecting the required dependencies then hitting on the GENERATE button to have the basic structure of the project as follows:

Spring Boot Initializer

You can quickly determine the following dependencies that come packaged in the Maven project:

  • Spring Data JPA: Persist data in SQL stores with Java Persistence API using Spring Data and Hibernate.
  • Spring Web: Build web, including RESTful, applications using Spring MVC. Uses Apache Tomcat as the default embedded container.
  • MySQL Driver: MySQL JDBC driver.

Open the generated project in your favorite IDE or editor (I'm mainly using IntelliJ IDEA and VsCode), from there you can tweak it a bit to have some entities, controllers, and business logic.

Hosted on GitHub, here's the source code of the Spring Boot application that we'll be using to setup Docker along with a MySQL database.

The application.properties file holds some App configurations, it's not uncommon to see sensitive credentials in it, here's its content:

# Server port
server.port=8090

# Datasource connection
spring.datasource.platform=mysql
spring.datasource.initialization-mode=always
spring.jpa.properties.hibernate.dialect=org.hibernate.dialect.MySQLDialect

# Hibernate
spring.jpa.hibernate.ddl-auto=update
spring.jpa.hibernate.show-sql=true

# Logging
logging.level.org.springframework=ERROR
logging.level.com.numericaideas=DEBUG
logging.level.org.hibernate.SQL=DEBUG
logging.level.org.hibernate.type.descriptor.sql.BasicBinder=TRACE

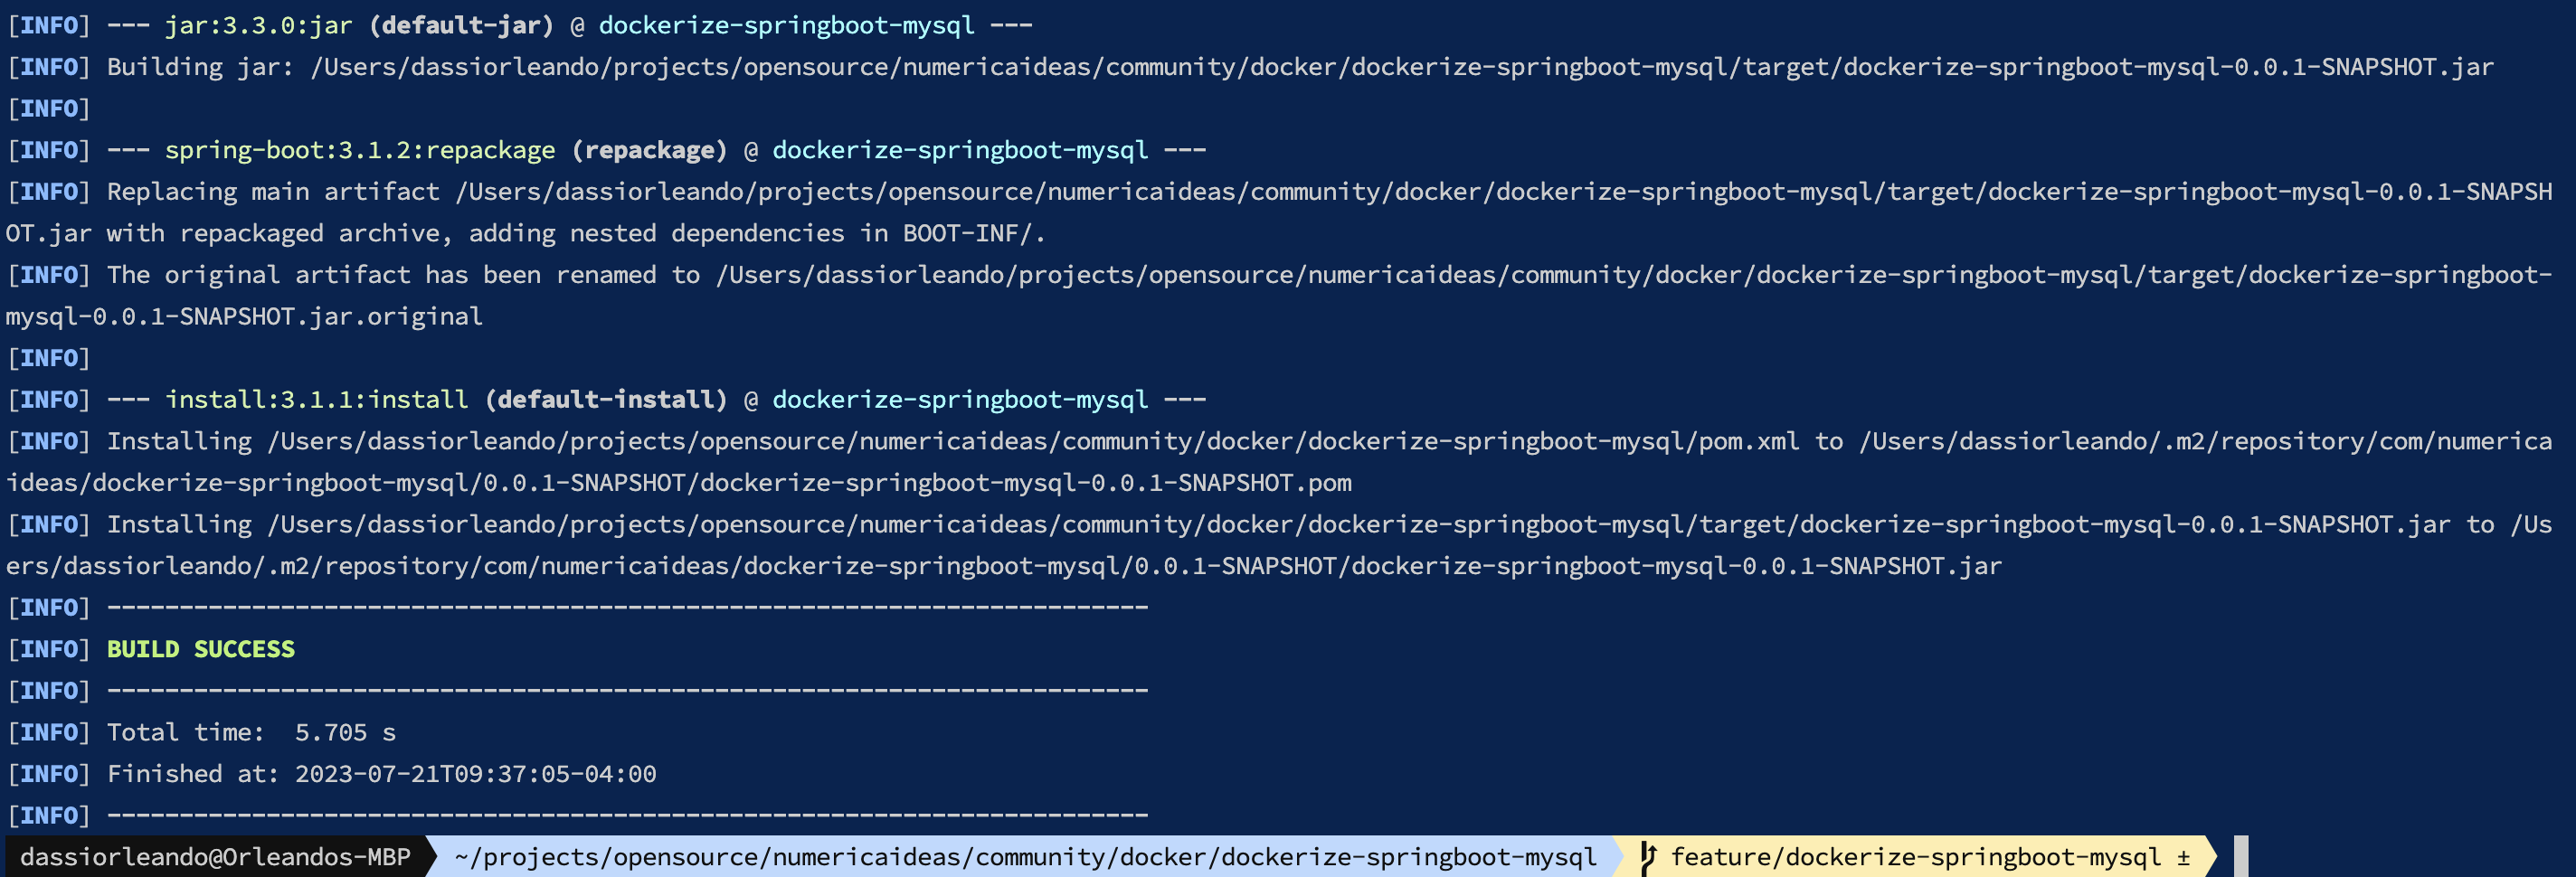
Let's build the App to make sure it compiles as expected, the following command must be run from the project root folder:

./mvnw clean install -DskipTests

At the end of the execution, the Maven build output should look like this:

Maven build

Other Bash scripts are available within the project for convenience:

  • build.sh: to build the project.
  • up.sh: to start the project using Docker Compose.
  • down.sh: to shut everything down.

For our demo, the port in use is 8090 and we have implemented the CRUD operations for the User entity as well as a Ping endpoint, we won't go deeper on that since it's out of scope and you can follow the next sections of this guide with an existing Spring Boot (Maven) project too.

Create Docker Image for Spring Boot Application

The Dockerfile should be provided to build an image of the Spring Boot Application, it contains the following lines:

# Use a base image with Java 17
FROM openjdk:17

# Copy the JAR package into the image
ARG JAR_FILE=target/*.jar
COPY ${JAR_FILE} app.jar

# Expose the application port
EXPOSE 8090

# Run the App
ENTRYPOINT ["java", "-jar", "/app.jar"]

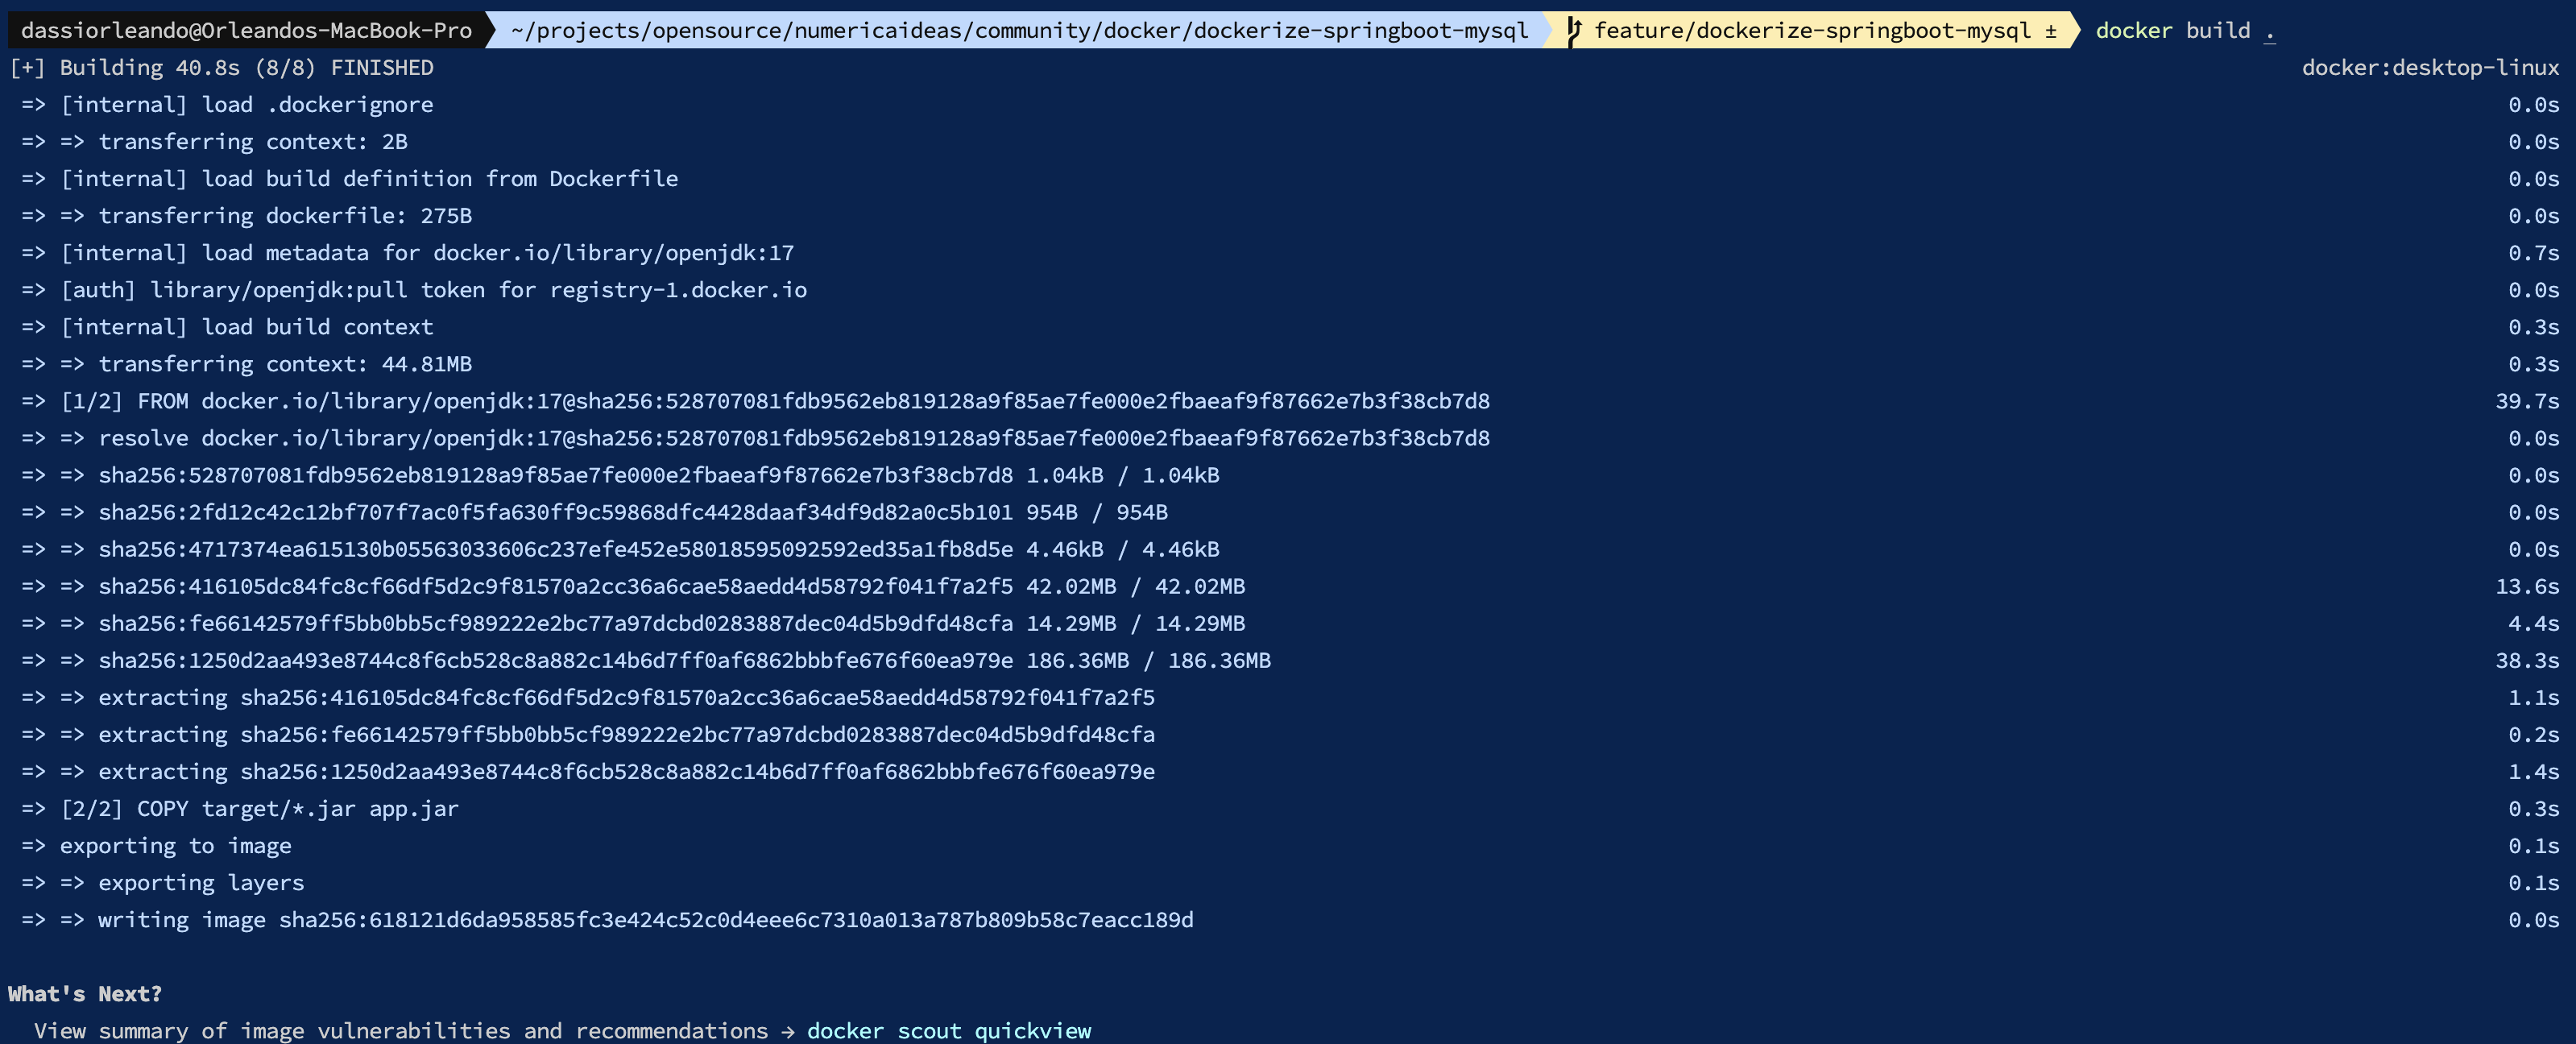
It's straightforward, the Dockerfile uses an image based on Java 17, it copies into the image the executable JAR file that resulted from the build in the previous step, exposes the port the App is running on, then provides the entry point which is the bash command to run at the end to start the container.

By building your image with the command docker build ., a successful output should be similar to the next image:

Build Spring Boot Docker image

By this stage, we have the App image and since we'll use an official MySQL Docker image, we can manually spin up both components and link them together by using the database credentials to run the App, but to make the process easier we'll link their deployments together by using Docker Compose in the next section.

Docker Compose Spring Boot and MySQL

Docker Compose simplifies the orchestration of multi-container applications. Create a file named docker-compose.yml in your project directory and add the following configuration:

version: '3.7'
services:
  app:
    build:
      context: .
      dockerfile: Dockerfile
    ports:
      - 8090:8090
    depends_on:
      mysqldb:
        condition: service_healthy
    environment:
      - SPRING_DATASOURCE_URL=jdbc:mysql://mysqldb:3306/${MYSQL_DATABASE}
      - SPRING_DATASOURCE_USERNAME=root
      - SPRING_DATASOURCE_PASSWORD=${MYSQL_PASSWORD}
    networks:
      - springboot-mysql-network
  mysqldb:
    image: mysql:8.0.33
    ports:
      - 3306:3306
    environment:
      - MYSQL_DATABASE=${MYSQL_DATABASE}
      - MYSQL_ROOT_PASSWORD=${MYSQL_PASSWORD}
    volumes:
      - mysql-data:/var/lib/mysql
    networks:
      - springboot-mysql-network
    healthcheck:
      test: ["CMD", "mysqladmin" ,"ping", "-h", "localhost"]
      retries: 10
      interval: 3s
      timeout: 30s
volumes:
  mysql-data:
networks:
  springboot-mysql-network:
    name: springboot-mysql-network

This Docker Compose configuration defines two services: app for the Spring Boot Application and mysqldb for the MySQL database. The app service builds the image based on the Dockerfile in the project's root directory. The mysqldb service uses the official MySQL image and sets the environment variables for the database configuration. The depends_on attribute ensures that the Spring Boot application starts after the MySQL database in order to guarantee dependency ordering. Finally, the healthcheck makes sure the MySQL service is ready to accept connections before running the App.

For the App to connect itself to the MySQL database, as an enhanced security measure, we provided the database credentials as environment variables via the services' environment attributes so these are textually hidden from the project source code:

  • MYSQL_DATABASE: The database name.
  • MYSQL_PASSWORD: The database root's password, we use the root user account for simplicity only.

The environment attributes present in the app service are provided as environment variables to the App container at run time, we are talking about:

  • SPRING_DATASOURCE_URL
  • SPRING_DATASOURCE_USERNAME
  • SPRING_DATASOURCE_PASSWORD

Spring Boot automatically assigns these variables to the related application.properties configurations listed below:

  • spring.datasource.url
  • spring.datasource.username
  • spring.datasource.password

Meaning we don't have to provide these manually into the application.properties file, read more here.

Run the Dockerized Application

To run the App via Docker Compose, open a terminal, navigate to the project's root directory, and execute the following command in which we provide the environment variables directly:

MYSQL_DATABASE=mydatabase MYSQL_PASSWORD=rootpassword docker-compose up

In case you would like to provide the environment variables from a hidden .env file, feel free to create it from the .env.sample file and put it close to the docker-compose.yml within the project.

This being done, the command to run will change a bit to the following:

docker-compose up

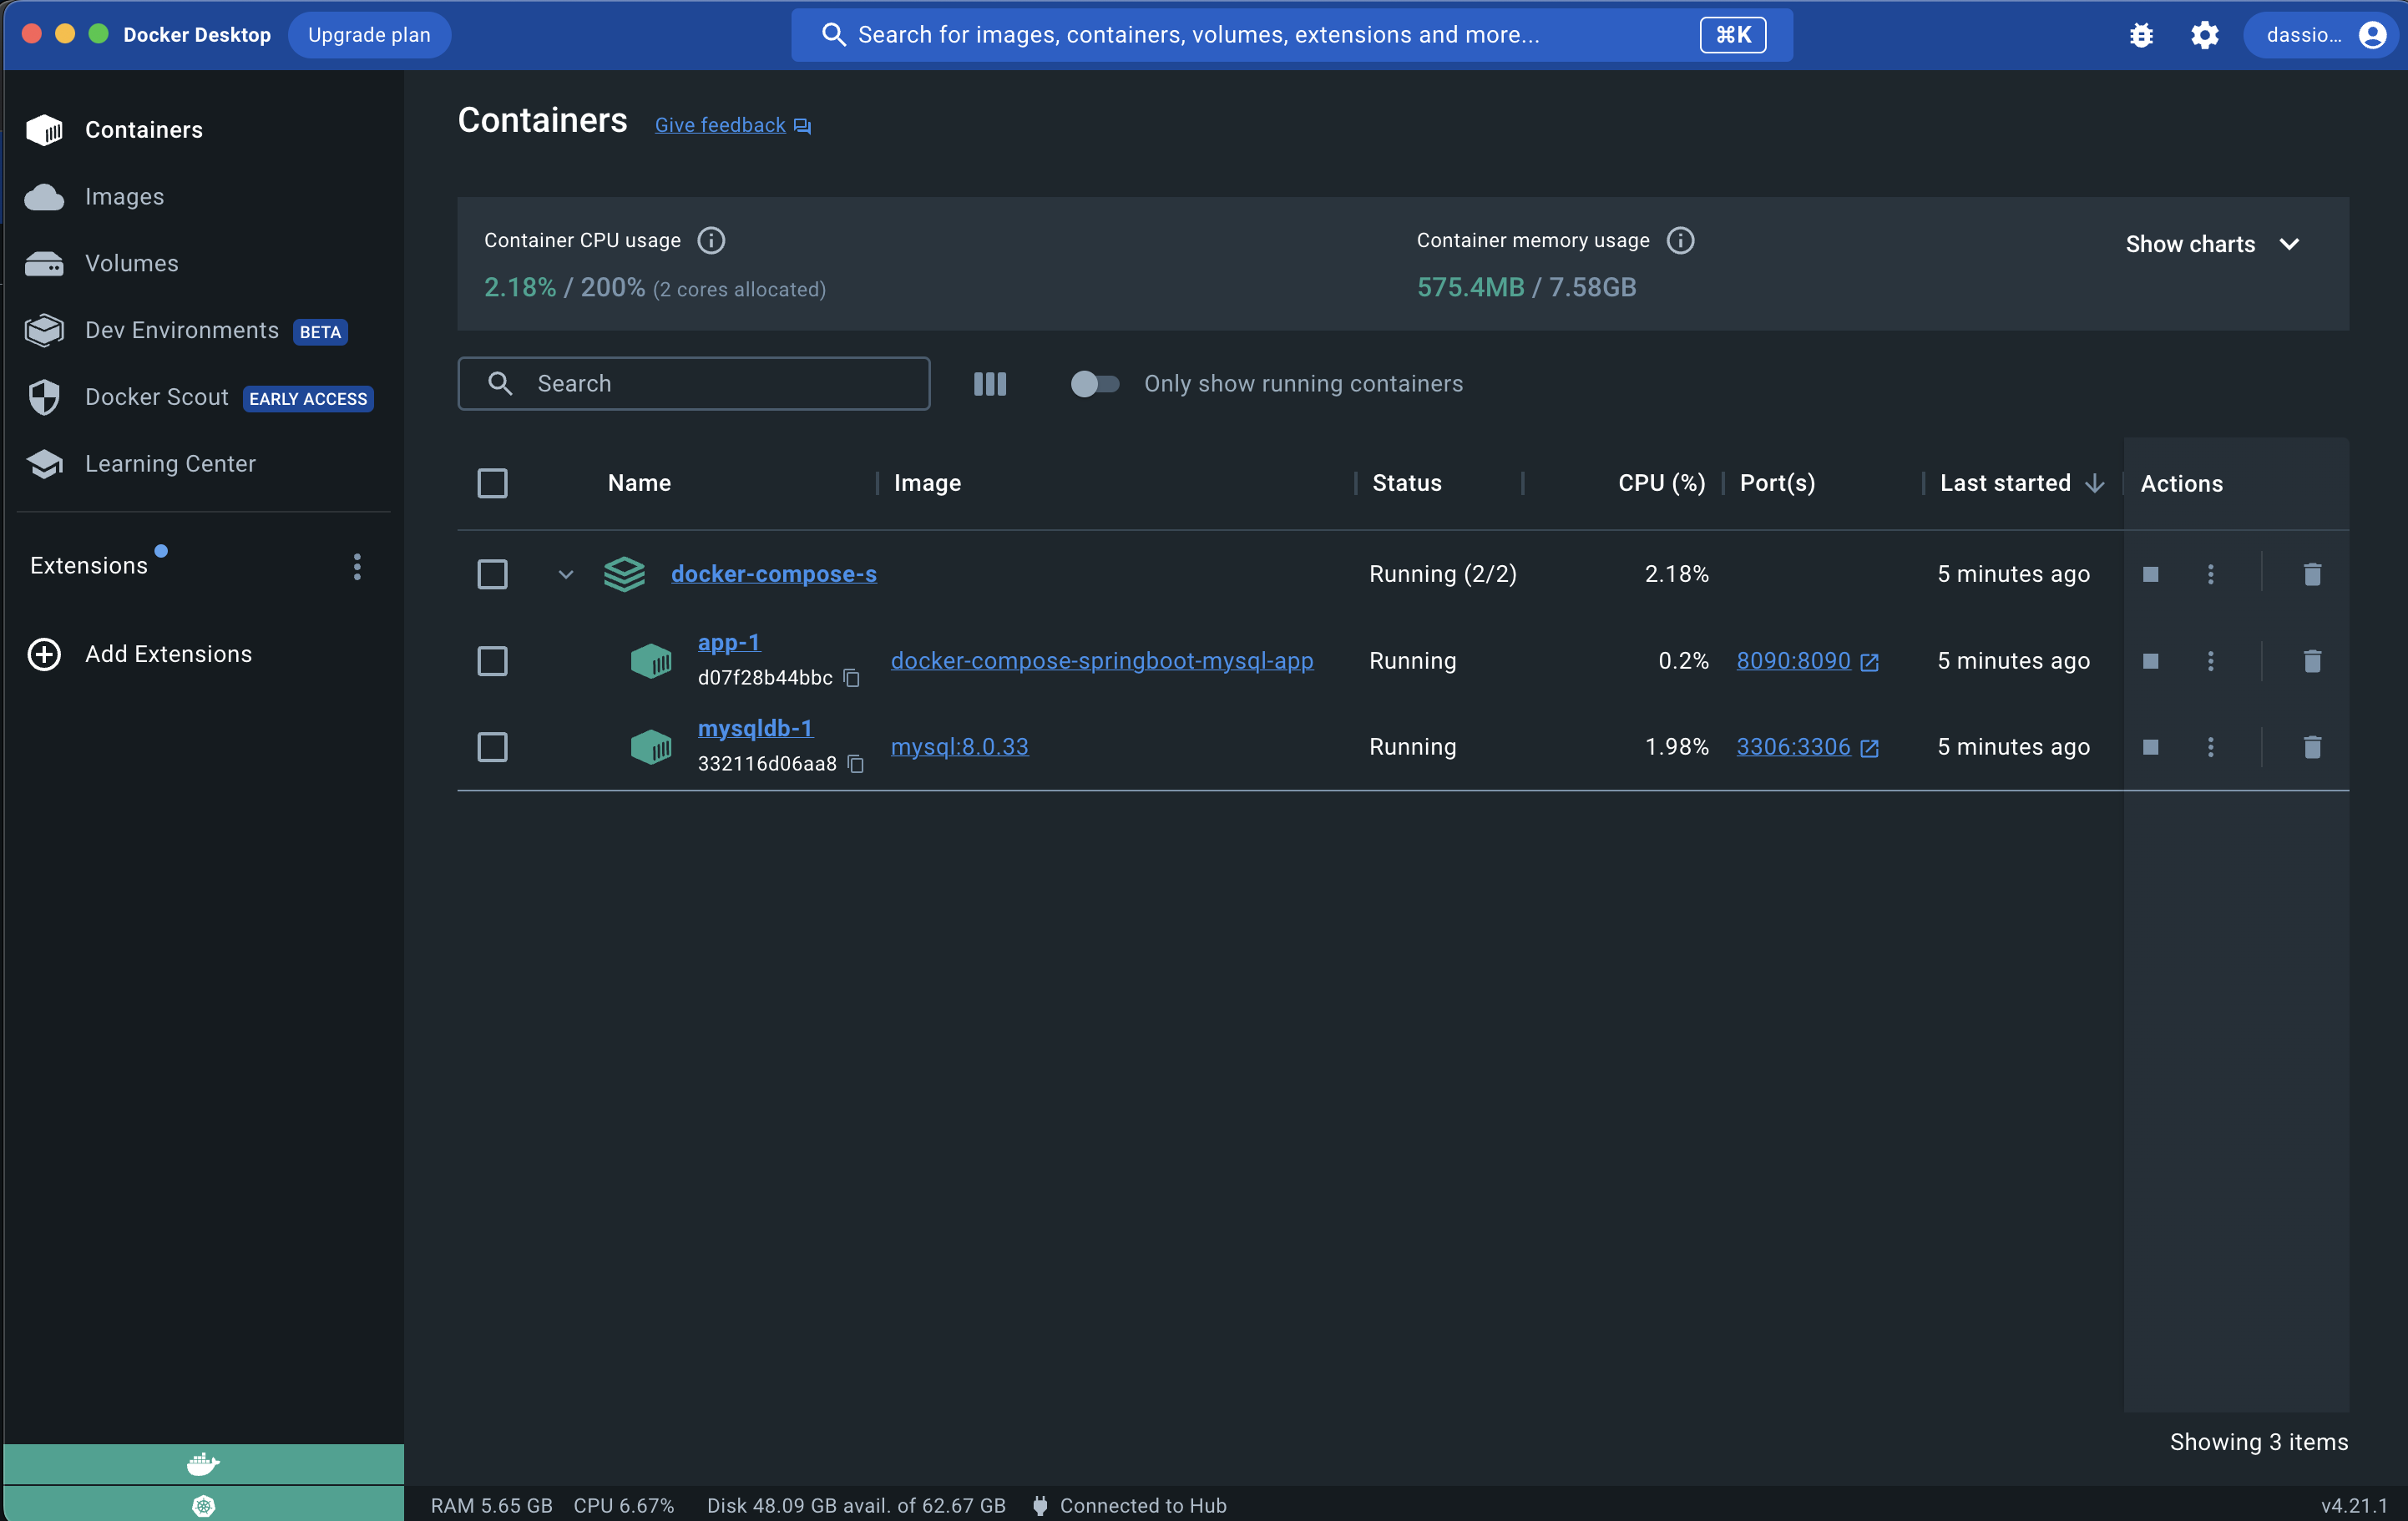
Docker Compose will build the Spring Boot and MySQL images, create the containers, and start them. You'll see logs from both the application and the database. To stop the containers, press Ctrl+C.

Using Docker Desktop enables you to view a nice summary of your Docker state in which we can see our running containers as illustrated below:

Running containers on Docker Desktop

The complete source code of the project is available on GitHub.

Open POSTMAN and create a POST request to the URL localhost:8090/api/users with a random user object to be persisted in the DB:

Test API: create a user

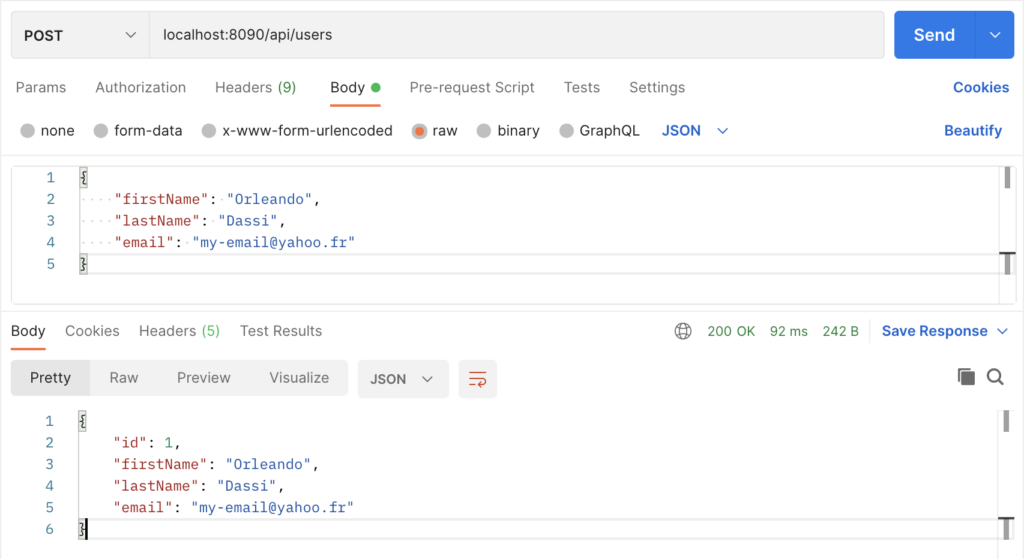
Let's list all users which includes the one we just created:

Test API: list all users

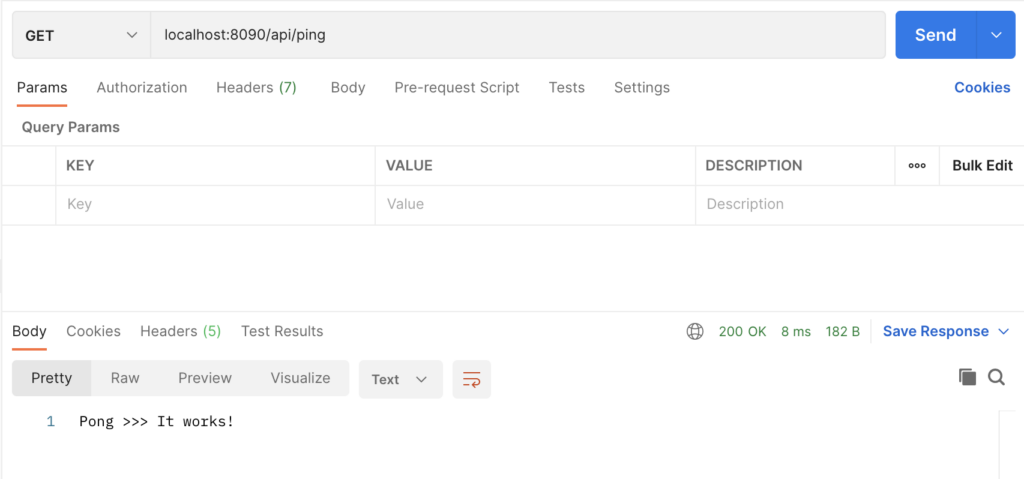
A ping endpoint is also available:

Test API: ping endpoint

If you are interested in related content, take a look at the following which explains how to Quickly Dockerizing NodeJS Application using docker init command.


———————

We have just started our journey to build a network of professionals to grow even more our free knowledge-sharing community that’ll give you a chance to learn interesting things about topics like cloud computing, software development, and software architectures while keeping the door open to more opportunities.

Does this speak to you? If YES, feel free to Join our Discord Server to stay in touch with the community and be part of independently organized events.

———————

Conclusion

Dockerizing a Spring Boot application with MySQL using Docker and Docker Compose simplifies the deployment process, improves portability, and enables scalability. By following the steps outlined in this guide, you can package your Spring Boot application and MySQL database into separate containers and deploy them as a cohesive application stack. With Docker, you can achieve consistent application execution across different environments, easily scale your application, and simplify version control. Docker Compose streamlines the management of multi-container applications, allowing you to define, configure, and deploy complex systems effortlessly.

Thanks for reading this article. Like, recommend, and share if you enjoyed it. Follow us on Facebook, Twitter, and LinkedIn for more content.


Orleando Dassi

I'm a Solutions Architect who is constantly learning to better himself while impacting the community by producing technical articles and videos, what describes me the most is my flexibility.

Shares